
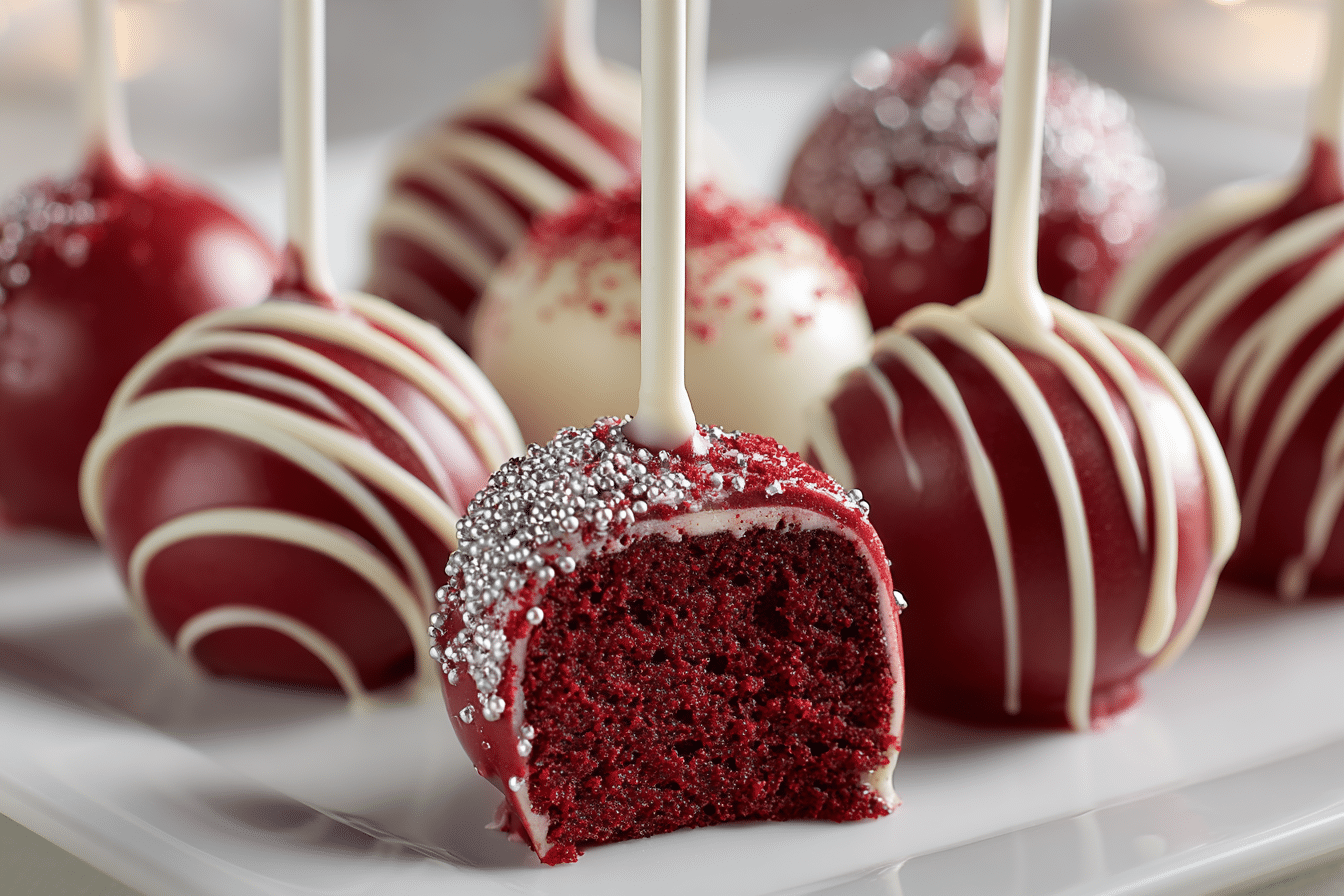
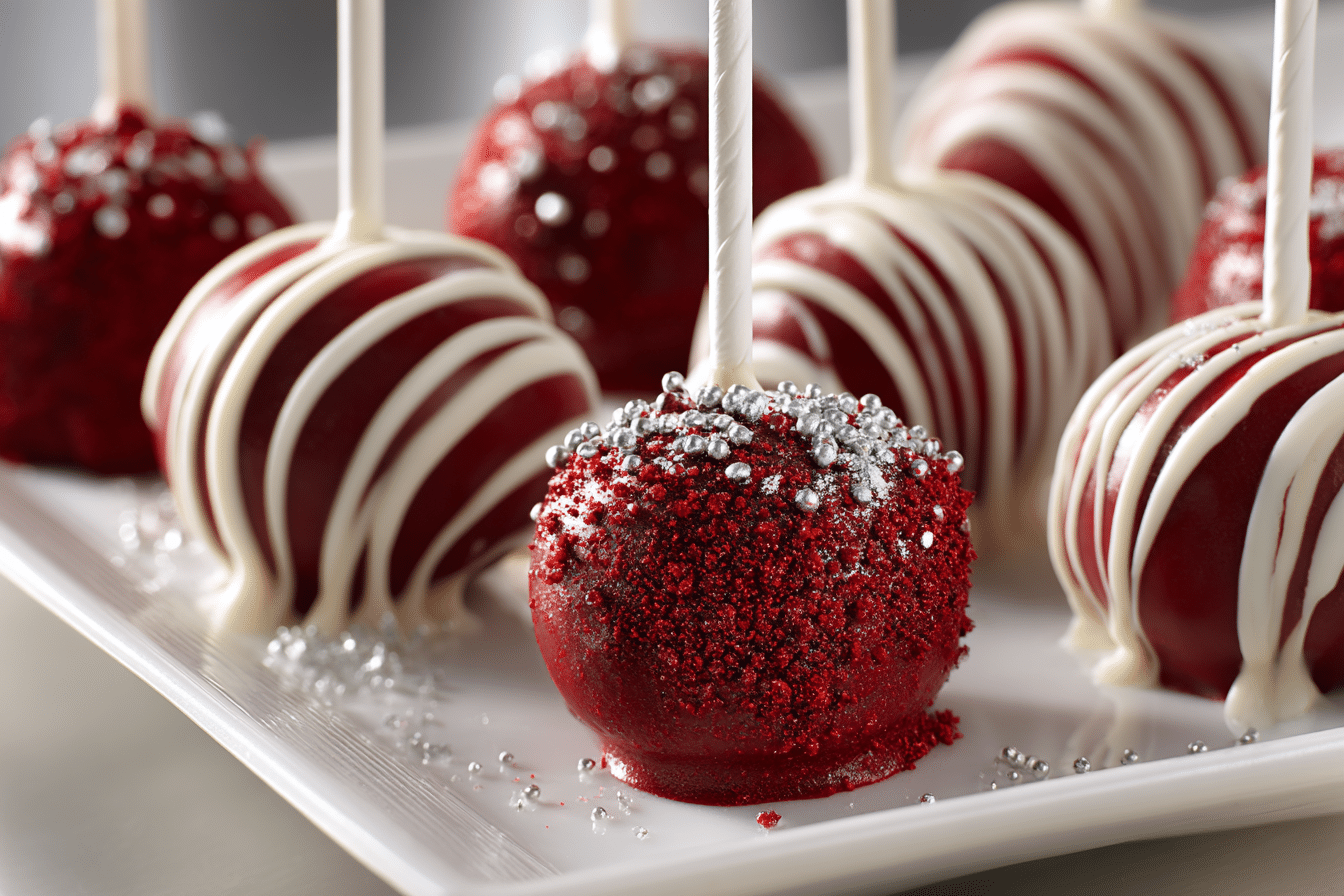
Red velvet cake pops are the ultimate festive treat—moist, rich red velvet cake mixed with creamy frosting, rolled into balls, and dipped in a smooth chocolate coating. Served on sticks, they’re perfect for parties, gifting, or anytime you want a dessert that’s as fun to eat as it is beautiful.
With their vibrant red color and soft, brownie-like texture, red velvet cake pops are especially popular around Christmas, Valentine’s Day, and birthdays. These bite-sized confections are easy to customize with sprinkles, drizzle, or even themed decorations, making them a go-to for entertaining or bake sales.
Whether you’re making them completely from scratch or using a boxed cake mix and store-bought frosting, these cake pops always turn out delicious and eye-catching.
Ingredients Overview
Red Velvet Cake
You can use:
-
Homemade red velvet cake (buttermilk, vinegar, cocoa powder, and red food coloring)
-
Or a boxed red velvet cake mix for a shortcut
What makes red velvet unique is its slight cocoa flavor, rich color, and soft crumb. Once baked and cooled, the cake is crumbled and mixed with frosting.
Frosting
To bind the crumbled cake into dough-like consistency, you’ll need frosting. Best options:
-
Cream cheese frosting (classic with red velvet)
-
Buttercream if you want something lighter
Use just enough to make the cake moist and moldable—not wet.
Chocolate Coating
Use candy melts, almond bark, or chocolate chips with a bit of coconut oil for smooth dipping.
Popular choices:
-
White chocolate (for contrast)
-
Dark or milk chocolate (for richness)
-
Red or pink melts for themed occasions
Decorations
Optional but fun! Try:
-
Sprinkles
-
Crushed cookies
-
Drizzled chocolate
-
Edible glitter
-
Mini heart or snowflake decorations
Cake Pop Sticks
Use lollipop sticks or paper straws. You can also serve them as truffles without sticks.
Step-by-Step Instructions
-
Bake the Cake:
-
Bake a red velvet cake according to your recipe or box mix.
-
Let it cool completely (best if cooled a few hours or overnight).
-
-
Crumble the Cake:
-
Break the cake into fine crumbs in a large bowl.
-
Remove any hard edges or overbaked bits.
-
-
Mix with Frosting:
-
Start with ⅓ to ½ cup frosting and mix into the cake crumbs.
-
Use your hands or a mixer until the texture resembles cookie dough.
-
Add more frosting only if needed to hold together.
-
-
Shape the Pops:
-
Roll into 1 to 1½ inch balls using a cookie scoop or your hands.
-
Place on a parchment-lined baking sheet.
-
Chill for 30 minutes in the fridge or 15 minutes in the freezer.
-
-
Insert Sticks:
-
Melt a small amount of coating chocolate.
-
Dip ½ inch of each stick into melted chocolate, then insert halfway into each cake ball.
-
This helps the stick stay secure after dipping.
-
-
Dip the Cake Pops:
-
Melt chocolate or candy melts in a deep bowl.
-
Dip each chilled cake pop into the coating, turning gently to coat.
-
Let excess drip off, then insert into a styrofoam block or stand upright in a glass to set.
-
-
Decorate:
-
While the coating is still wet, add sprinkles or toppings.
-
Let set completely at room temperature or in the fridge.
-
-
Serve or Store:
-
Once set, serve immediately or store in an airtight container for up to 5 days.
-
Tips, Variations & Substitutions
-
Don’t Overdo the Frosting: Add gradually—it should hold the cake together, not turn it gooey.
-
Color Match: Use white or dark chocolate for contrast, or red/pink candy melts for themed events.
-
Gluten-Free: Use a gluten-free red velvet cake mix and frosting.
-
Vegan Option: Use plant-based cake, dairy-free frosting, and vegan chocolate coating.
Flavor Ideas:
-
Add a pinch of cinnamon or espresso powder to the cake mix for depth.
-
Mix mini chocolate chips into the cake-frosting mixture before shaping.
-
Roll the pops in crushed Oreos after dipping.
Serving Ideas & Occasions
These cake pops are perfect for:
-
Valentine’s Day dessert tables
-
Holiday parties or cookie exchanges
-
Wedding or baby showers
-
Birthday favors
-
Bake sales or gift boxes
Present them in:
-
Decorative jars
-
Styrofoam stands
-
Gift bags tied with ribbon
-
As part of a dessert board
Pair with:
-
Coffee or hot chocolate
-
Sparkling cider or rosé
-
Other mini desserts (brownie bites, mini cupcakes)
Nutritional & Health Notes
Each cake pop is:
-
A single-serving dessert bite
-
Rich in sugar and saturated fat
-
High in flavor, so one or two is usually satisfying
To lighten:
-
Use reduced-sugar frosting
-
Make smaller cake balls
-
Skip heavy decorations like candy coating or sprinkles
Store in an airtight container in the fridge for up to 5 days, or freeze for longer storage (up to 1 month).
FAQs
Q1: Can I freeze cake pops?
A1: Yes. Once dipped and set, freeze in a single layer, then transfer to a container. Thaw at room temp before serving.
Q2: Why are my cake pops falling off the stick?
A2: They may be too heavy or not chilled enough. Also, dipping the stick in chocolate before inserting helps secure them.
Q3: Can I make cake pops without a stick?
A3: Absolutely. Serve them as cake truffles or bonbons—they’re just as delicious.
Q4: What’s the best coating for cake pops?
A4: Candy melts or almond bark melt smoothly and harden quickly. Chocolate chips work but may need thinning with oil.
Q5: Can I use store-bought cake and frosting?
A5: Yes! It’s a great time-saver. Just make sure the cake isn’t overly moist or frosted already.
Q6: How far in advance can I make cake pops?
A6: Up to 5 days in advance. Store in an airtight container in a cool room or fridge.
Q7: Can I color the coating?
A7: Use oil-based food coloring for chocolate. Avoid water-based colorings—they can seize the chocolate.
Print
Moist red velvet cake mixed with creamy frosting, shaped into balls, and dipped in chocolate for the perfect bite-sized dessert—great for parties, holidays, or gifting.
- Prep Time: 10 minutes
- Cook Time: 20 minutes
- Total Time: 30 minutes
- Yield: 4 servings 1x
Ingredients
-
1 red velvet cake (homemade or box mix), baked and cooled
-
⅓–½ cup cream cheese frosting
-
12 oz white or dark chocolate, candy melts, or almond bark
-
Sprinkles or decorations (optional)
-
Cake pop sticks
Instructions
-
Crumble cooled cake in a large bowl.
-
Add frosting gradually and mix until dough forms.
-
Roll into 1-inch balls. Chill for 30 minutes.
-
Dip sticks in melted chocolate, insert into balls.
-
Chill 10 more minutes.
-
Dip cake pops into melted chocolate and tap off excess.
-
Decorate while wet. Let set upright until firm.
-
Store chilled in airtight container.