
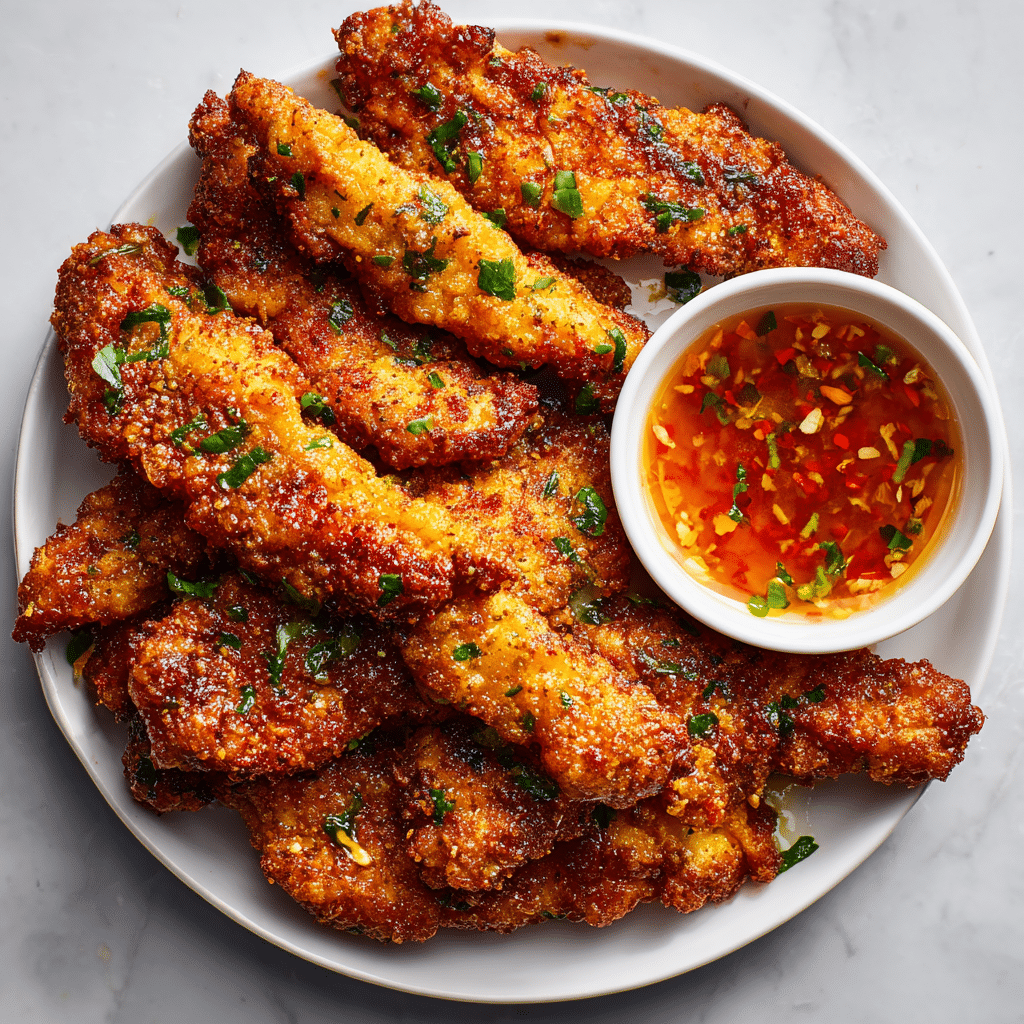
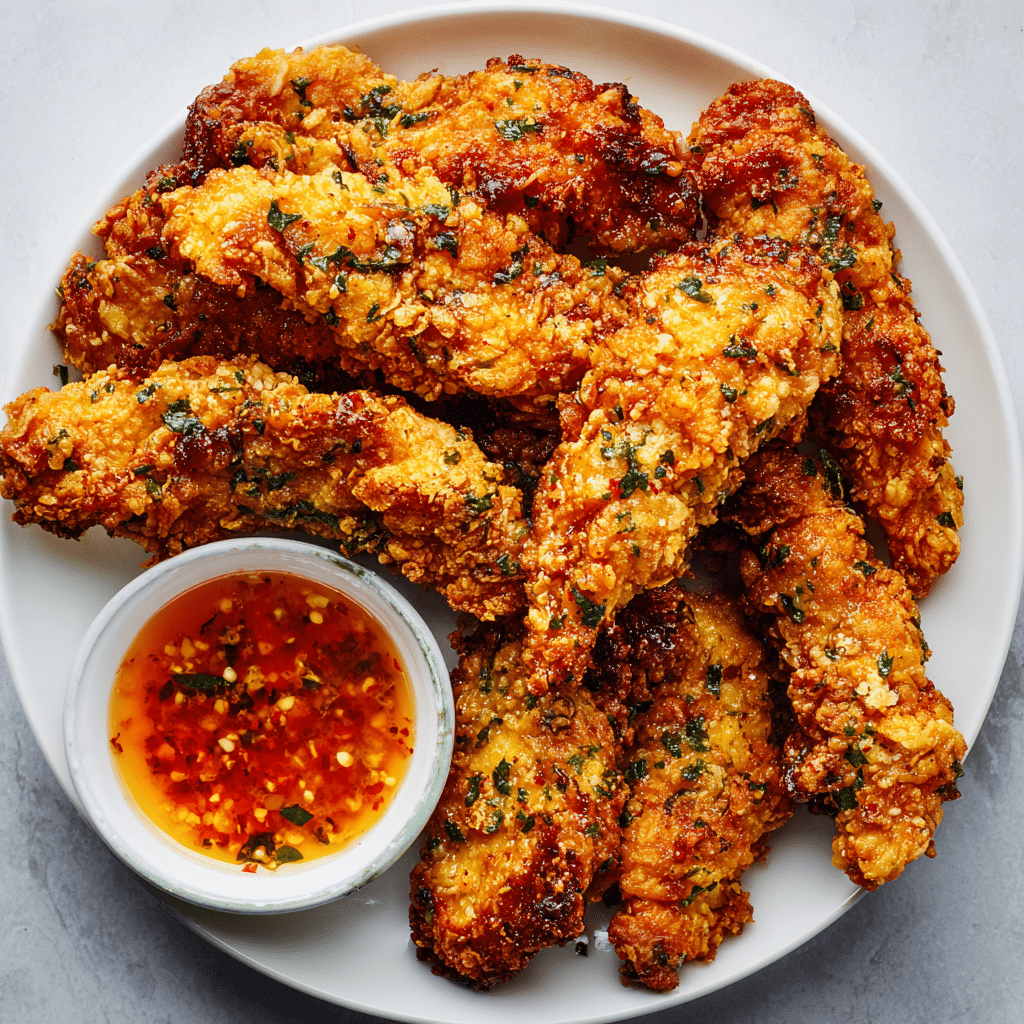
Forget the drive-thru—these Crispy Homemade Baked Chicken Tenders are juicy on the inside, crunchy on the outside, and baked to golden perfection without deep-frying. Ready in under 40 minutes, this family-friendly favorite is made with simple ingredients and a triple-coating method that delivers serious crispiness—all without a drop of fryer oil.
Chicken tenders have been a staple of American comfort food since the 1980s, beloved by kids and adults alike. But traditional versions are often deep-fried and greasy. This oven-baked version skips the oil but keeps all the flavor and texture. The secret? A three-step breading process, high-heat baking, and a few smart ingredient swaps.
You’ll love how easy these are to make, how much crunch they deliver, and how well they pair with your favorite sauces—from honey mustard to spicy sriracha mayo. Great for weeknight dinners, game day snacks, or freezer-friendly meal prep.
Ingredients Overview
Let’s take a closer look at the ingredients that make these tenders crispy, flavorful, and totally irresistible.
Chicken Tenders or Breast Strips
You can buy pre-cut chicken tenders or slice boneless, skinless chicken breasts into strips about 1 inch thick. Thinner cuts cook faster and absorb more flavor.
Tip: For ultra-juicy tenders, marinate briefly in buttermilk or a seasoned egg wash.
Flour
All-purpose flour is the first step in the breading process. It helps the egg wash stick and forms the base layer of crunch.
Eggs
Beaten eggs act as a binder between the flour and the breadcrumbs, ensuring the coating stays put. You can season the eggs with a little garlic powder or paprika for bonus flavor.
Panko Breadcrumbs
Panko is the key to that extra-crispy coating. These Japanese-style breadcrumbs are lighter and airier than regular breadcrumbs, resulting in a crispier texture when baked.
Tip: Toast the panko before coating the chicken for even more crunch and golden color.
Parmesan Cheese (optional)
Adding finely grated Parmesan to the breadcrumb mixture enhances flavor and helps the coating brown beautifully in the oven.
Spices & Seasonings
Flavor each step for maximum taste:
-
Flour mix: Salt, pepper, paprika, garlic powder
-
Breadcrumb mix: Italian seasoning, cayenne (optional), onion powder
Cooking Spray or Oil
Spritzing the tenders with cooking spray (or brushing lightly with oil) before baking helps them crisp and brown in the oven without deep-frying.
Step-by-Step Instructions
This triple-coating technique delivers the crispiest results every time. Here’s exactly how to do it:
1. Preheat Oven & Prepare Pan
Preheat oven to 425°F (220°C). Line a baking sheet with parchment paper or foil, then place a wire rack on top and spray with cooking spray. The rack allows air circulation for extra crispness.
2. Prepare Breading Stations
Set up three shallow bowls:
-
Flour Station:
-
½ cup all-purpose flour
-
1 tsp salt, ½ tsp pepper, 1 tsp paprika
-
-
Egg Wash:
-
2 large eggs, beaten
-
Optional: 1 tbsp milk or buttermilk
-
-
Breadcrumb Mix:
-
1½ cups panko breadcrumbs
-
½ cup grated Parmesan
-
1 tsp Italian seasoning
-
½ tsp garlic powder
-
Optional: pinch of cayenne
-
3. Coat the Chicken
Pat chicken strips dry with paper towels. Then:
-
Dredge in the flour, coating all sides.
-
Dip into the egg wash, letting excess drip off.
-
Press into the panko mixture, coating thoroughly and pressing breadcrumbs on to stick.
Place coated tenders on the wire rack.
4. Bake the Tenders
Spray the tops with cooking spray or lightly drizzle with oil. Bake for 20–22 minutes, flipping halfway through.
Look for:
-
Internal temperature of 165°F
-
Deep golden color
-
Crunchy coating when tapped
If desired, broil for the last 1–2 minutes to intensify browning.
5. Serve Hot
Let rest for 2–3 minutes, then serve with your favorite dipping sauces or sides.
Tips, Variations, and Substitutions
Tips for Maximum Crispiness
-
Use a wire rack: Promotes air circulation and prevents soggy bottoms.
-
Don’t overcrowd the pan: Leave space between tenders.
-
Toast the breadcrumbs before coating for extra crunch and color.
Flavor Variations
-
Buffalo-style: Toss baked tenders in buffalo sauce and serve with ranch.
-
Honey garlic: Drizzle with honey + garlic butter sauce.
-
Tex-Mex: Add taco seasoning to the breadcrumb mix and serve with salsa.
Ingredient Substitutions
-
Dairy-free: Skip the Parmesan or use dairy-free cheese.
-
Gluten-free: Use GF breadcrumbs and a gluten-free flour blend.
-
Low-carb: Use crushed pork rinds or almond flour in place of panko.
Serving Ideas & Occasions
These crispy chicken tenders are incredibly versatile. Serve them:
As a Main Dish
-
With mashed potatoes or mac & cheese
-
Over a fresh salad with ranch dressing
-
In wraps or sandwiches with lettuce and spicy mayo
For Dipping
-
Honey mustard
-
BBQ sauce
-
Ranch or blue cheese
-
Sriracha mayo or buffalo sauce
Perfect For:
-
Family dinners
-
Game day snacks
-
Kid-friendly lunches
-
Party finger food
Also excellent for meal prep—they reheat well in the oven or air fryer.
Nutritional & Health Notes
These baked chicken tenders are a lighter alternative to fried versions:
-
High in protein from lean chicken breast
-
Lower in fat thanks to baking instead of frying
-
Customizable for various diets (dairy-free, gluten-free, low-carb)
You can lighten them even more by:
-
Using egg whites instead of whole eggs
-
Reducing the cheese or skipping it
-
Serving with veggie-based sides like slaw or roasted veggies
Frequently Asked Questions
1. How do I make sure the tenders get crispy in the oven?
Use panko breadcrumbs, coat the tenders evenly, and cook them on a wire rack. Spraying with oil before baking also helps create that golden crunch.
2. Can I make these in an air fryer?
Absolutely! Air fry at 400°F for 10–12 minutes, flipping halfway. You’ll get extra crispiness in less time.
3. Can I use chicken thighs instead of breasts?
Yes, boneless, skinless thighs work well. Just trim excess fat and cut into strips. Cooking time may increase slightly due to higher moisture content.
4. Can I freeze them?
Yes. Freeze uncooked, breaded tenders on a tray, then transfer to a freezer bag. Bake from frozen at 425°F for 25–28 minutes.
5. What’s the best dipping sauce?
Top choices include:
-
Ranch
-
Honey mustard
-
Chipotle mayo
-
Garlic aioli
-
Sweet chili sauce
6. Why did my coating fall off?
Common causes:
-
Skipping the flour step
-
Not drying chicken first
-
Not pressing breadcrumbs on firmly
-
Overcrowding the pan
7. How long do leftovers last?
Store in an airtight container in the fridge for up to 3 days. Reheat in a 400°F oven or air fryer for best texture.
Crispy Homemade Baked Chicken Tenders – Golden, Juicy & Better Than Fried
Crispy, juicy chicken tenders coated in panko breadcrumbs and baked to golden perfection. A family favorite that’s easy, healthier, and oven-friendly.
- Prep Time: 20 minutes
- Cook Time: 15 minutes
- Total Time: 35 minutes
- Yield: 6 servings 1x
Ingredients
-
1½ lbs boneless chicken tenders or breast strips
-
½ cup all-purpose flour
-
2 large eggs
-
1½ cups panko breadcrumbs
-
½ cup grated Parmesan (optional)
-
1 tsp salt
-
½ tsp pepper
-
1 tsp paprika
-
1 tsp Italian seasoning
-
½ tsp garlic powder
-
Cooking spray or olive oil
Instructions
-
Preheat oven to 425°F. Line a baking sheet with foil and place a wire rack on top.
-
Set up 3 bowls: flour + seasonings, beaten eggs, and breadcrumb mixture.
-
Coat chicken in flour, then eggs, then breadcrumbs. Press to adhere.
-
Place on rack, spray with oil, and bake 20–22 minutes, flipping halfway.
-
Broil 1–2 minutes if extra browning is desired. Serve hot with sauce.