
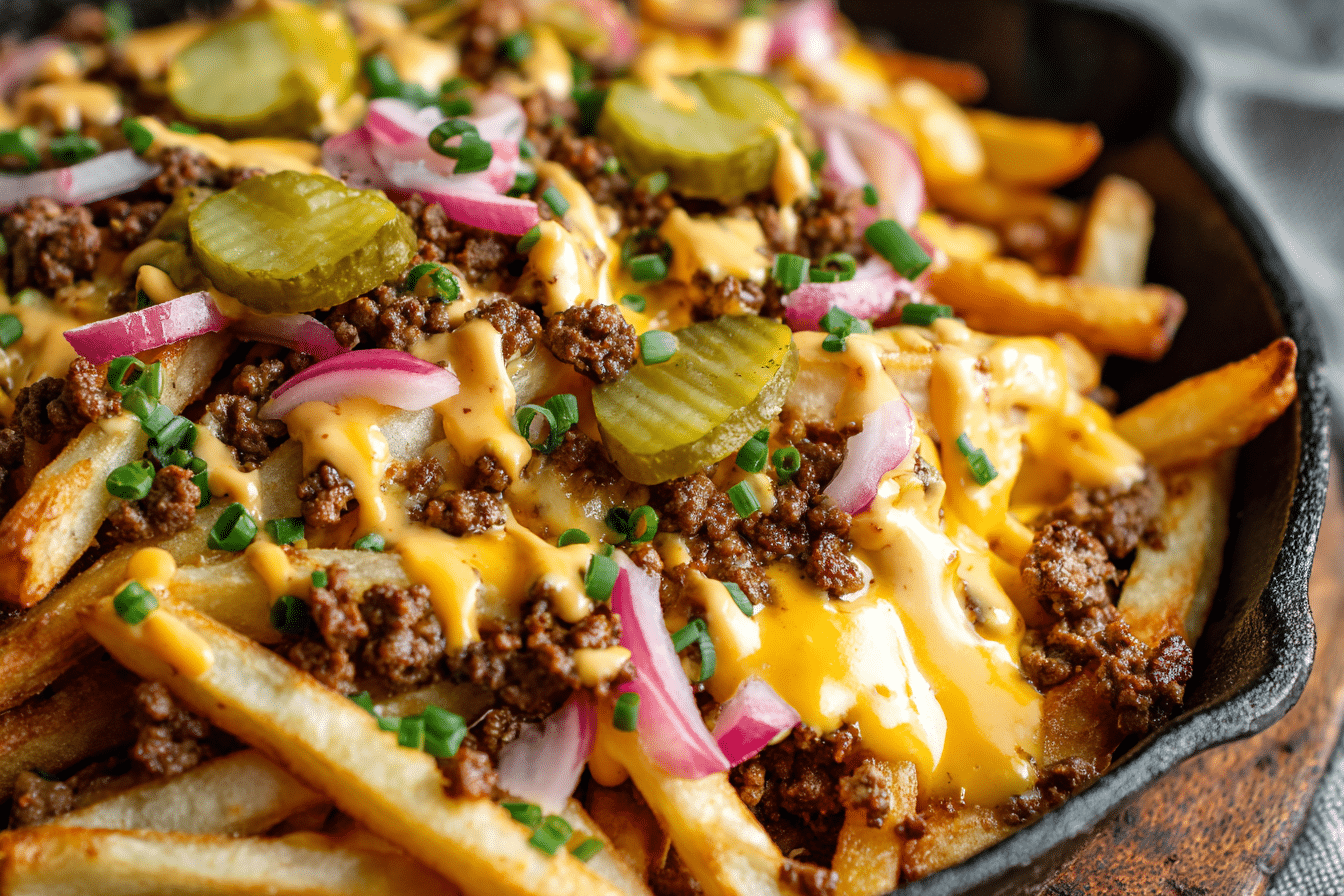
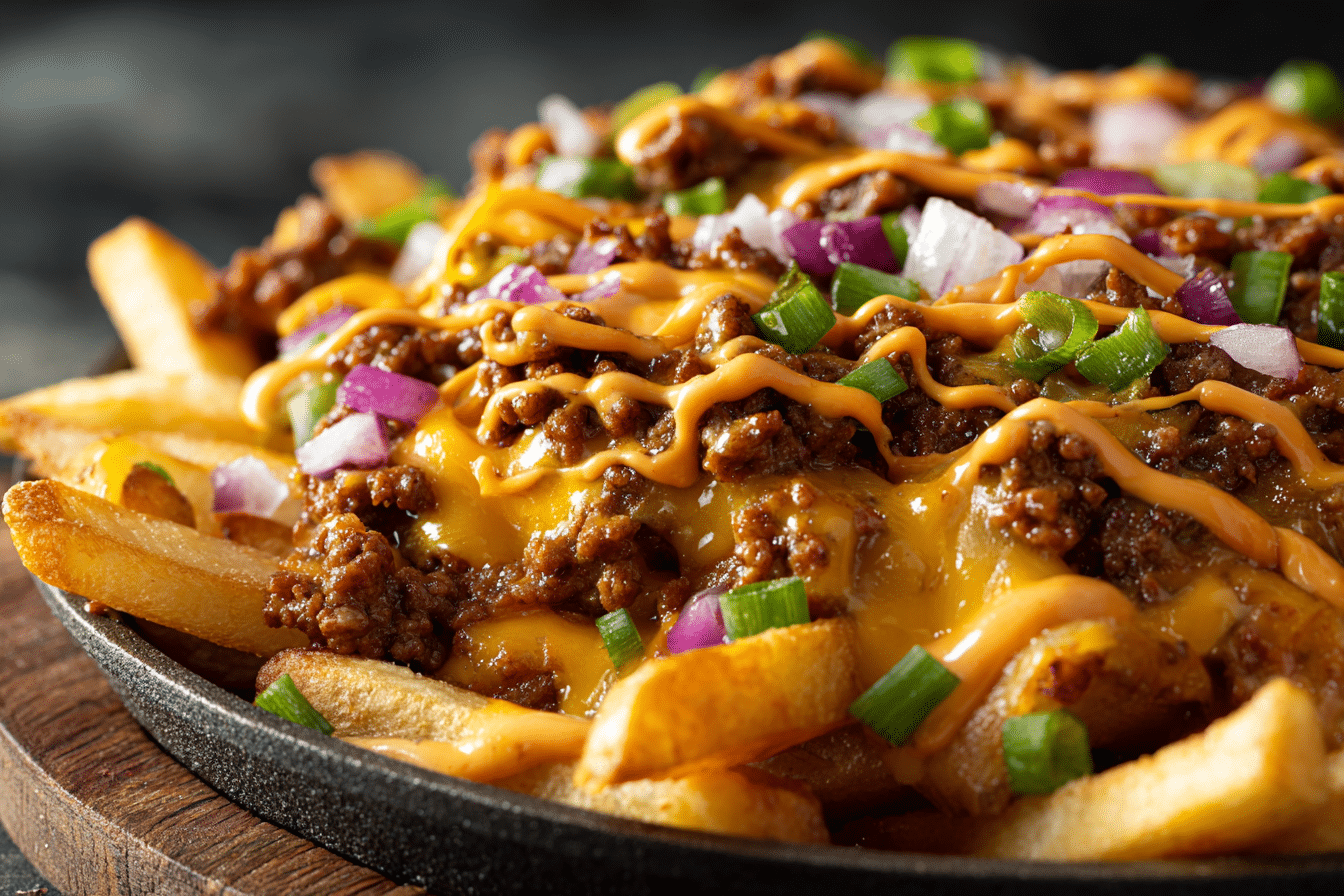
There’s something wildly satisfying about a dish that brings together all the flavors of a loaded cheeseburger and crispy fries—especially when it’s made in just one skillet. This Cheesy French Fry Cheeseburger Skillet is messy in the best way possible: juicy ground beef layered with golden fries, blanketed in bubbling melted cheese, and topped off with your favorite burger extras.
It’s bold, hearty, and ridiculously comforting. With minimal prep and a short cook time, this meal makes dinner feel indulgent without being complicated. Think of it as a deconstructed cheeseburger dinner that still delivers everything you love—savory meat, gooey cheese, and that satisfying crunch of fries—just served with a spoon instead of a bun.
Whether it’s a laid-back weeknight or you’re feeding a hungry crew on game day, this skillet guarantees clean plates and full bellies. It’s fast, flavorful, and every bit as delicious as it sounds.
Ingredient Highlights
This dish keeps it classic with simple ingredients that deliver big on flavor and texture.
Ground Beef: A flavorful foundation. Opt for 80/20 beef for the ideal balance of juiciness and flavor. If you prefer something leaner, try ground chicken or turkey. Meat-free crumbles also work great for a vegetarian version.
Frozen French Fries: No need to overthink this—just grab your favorite brand. Crinkle-cut or seasoned fries hold up best under the cheese. Want to switch it up? Tater tots or sweet potato fries are fantastic options too.
Cheddar Cheese: Sharp cheddar gives you that classic cheeseburger vibe. Blend it with mozzarella for extra stretch or pepper jack if you like a little heat. Freshly shredded cheese melts better than pre-packaged.
Onion: A sautéed yellow onion adds sweetness and a savory base flavor to the meat mixture. Red onion or shallots are solid alternatives.
Garlic: Just a little minced garlic adds depth and aroma. If you don’t have fresh, garlic powder will do.
Ketchup and Mustard: These pantry staples mimic the taste of burger sauce and make the beef taste like it came straight from a diner. Adjust the ratio depending on your personal burger preferences.
Dill Pickles: Optional, but highly recommended. The tangy crunch balances the richness. Try jalapeños or pickled onions for a fun twist.
Salt & Pepper: Essential for seasoning the meat and bringing all the flavors together.
Toppings (Optional): Chopped tomato, shredded lettuce, bacon crumbles, or even a drizzle of burger sauce—these take it to the next level.
How to Make It: Step-by-Step
-
Brown the Beef: Place a large oven-safe skillet on the stove over medium-high heat. Add ground beef and break it up with a spatula. Cook until fully browned, about 7 minutes. Drain off excess fat.
-
Add Onion and Garlic: Stir in diced onion and cook for another 3 minutes until soft and translucent. Add minced garlic and cook for 30 seconds, just until fragrant.
-
Mix in the Sauce: Add ketchup and mustard directly to the meat. Stir until evenly coated, then season with salt and pepper. Let it simmer on low heat for a couple of minutes to thicken slightly.
-
Add the Fries: Spread frozen fries evenly on top of the beef mixture. Don’t mix—leave them sitting right on top so they can get crispy in the oven.
-
Bake It: Transfer the skillet to a 425°F preheated oven. Bake for about 20–25 minutes, or until the fries are golden and crispy on top.
-
Top with Cheese: Remove the skillet, scatter shredded cheese generously over the fries, and return it to the oven. Bake another 5–7 minutes until the cheese is melted and bubbly.
-
Add Toppings and Serve: Let the dish cool for 5 minutes, then garnish with pickles, tomatoes, lettuce, or whatever you love on a burger. Scoop and serve straight from the skillet.
Tips for Success:
-
Keep the fries on top—they won’t crisp up if they’re buried in the beef.
-
Drain fat from the beef before layering to avoid sogginess.
-
Allow the skillet to rest a few minutes before serving—it makes it easier to dish out and keeps toppings fresh.
Add-Ons, Alternatives & Pro Tips
-
Crispy Bacon: Cook and crumble bacon over the top for extra savory punch.
-
Spicy Kick: Add diced jalapeños, hot sauce, or use pepper jack cheese.
-
Meatless Option: Swap the beef for veggie crumbles or seasoned lentils.
-
Fry Variations: Use waffle fries, sweet potato fries, or even loaded tots for different textures.
-
Different Cheeses: Try gouda, Colby jack, or a smoky cheese blend.
-
Sauce It Up: Drizzle with ranch, burger sauce, or even BBQ sauce after baking.
-
Fresh Crunch: Lettuce and tomato added at the end give a burger-like freshness.
Serving Suggestions
This skillet is more than enough on its own, but if you’re looking for sides or drinks to match, go for something crisp and refreshing. A bright coleslaw, cucumber salad, or pickled veggies cut through the richness.
For drinks, think simple: cold sodas, iced tea, or a light lager complement the bold flavors. This is also a killer option for parties, tailgates, or when you want something low-effort but high reward.
Nutrition Tips & Adjustments
This is comfort food at heart, but you can make a few smart adjustments to fit your needs. Using lean ground meat or a vegetarian alternative helps reduce saturated fat. Swapping fries for baked sweet potatoes adds fiber and a hint of sweetness.
Adding fresh toppings—like lettuce, tomatoes, or even diced onions—introduces crunch and balances out the richness. If you’re watching sodium, go easy on cheese and opt for low-sodium condiments.
Even with its indulgent nature, you can build a balanced plate with portion control and a light side salad.
Frequently Asked Questions
Can I prep this in advance?
Yes. Cook the meat and onion mixture up to two days ahead and store it in the fridge. When you’re ready to eat, top with frozen fries and bake. Just add a few extra minutes since it’ll be cold from the fridge.
Are leftovers freezer-friendly?
Absolutely. Let leftovers cool completely, portion them into freezer-safe containers, and store for up to two months. Reheat in an oven or air fryer to maintain some fry crispness.
What kind of cheese works best?
Sharp cheddar is classic, but you can mix it up. Monterey Jack, mozzarella, gouda, or a Mexican cheese blend all melt beautifully and taste great.
Can I use homemade fries?
Definitely. Just make sure they’re pre-baked or air-fried first so they crisp up properly when layered on top of the meat.
Is this dish gluten-free?
It can be. Use certified gluten-free fries and double-check that your condiments are free from hidden gluten. Always read the labels to be safe.
What should I serve with this?
This dish is filling, but it pairs well with a side of greens, coleslaw, or sliced pickles. For drinks, stick to simple sodas or light beer. It’s casual food—serve it like it.
How can I make it lighter?
Use lean beef, skip the extra cheese, and load it with fresh toppings. A side salad and smaller serving size make it a more balanced meal without losing the fun.
A quick and satisfying one-skillet meal that layers seasoned ground beef, crispy French fries, and melted cheese—topped with classic burger fixings for the ultimate comfort dish.
- Prep Time: 10 minutes
- Cook Time: 15 minutes
- Total Time: 25 minutes
- Yield: Serves 4
Ingredients
1 lb ground beef (80/20 preferred)
1/2 yellow onion, chopped
2 garlic cloves, minced
1/2 tsp salt
1/4 tsp black pepper
2 tbsp ketchup
1 tbsp yellow mustard
16 oz frozen French fries (crinkle-cut or seasoned)
2 cups sharp cheddar cheese, shredded
1/4 cup dill pickle slices (optional)
Optional toppings: diced tomatoes, shredded lettuce, bacon crumbles
Instructions
-
Preheat oven to 425°F.
-
In a large oven-safe skillet, cook ground beef over medium-high heat until browned (6–8 minutes). Drain excess fat.
-
Stir in chopped onion; cook for 3 minutes. Add garlic and cook for 30 seconds more.
-
Mix in ketchup, mustard, salt, and pepper. Simmer for 2–3 minutes.
-
Layer frozen fries evenly on top of the beef mixture.
-
Bake uncovered for 20–25 minutes until fries are golden.
-
Top with shredded cheese. Return to oven for 5–7 minutes, until cheese melts.
-
Cool slightly, then garnish with pickles or desired toppings. Serve hot.