
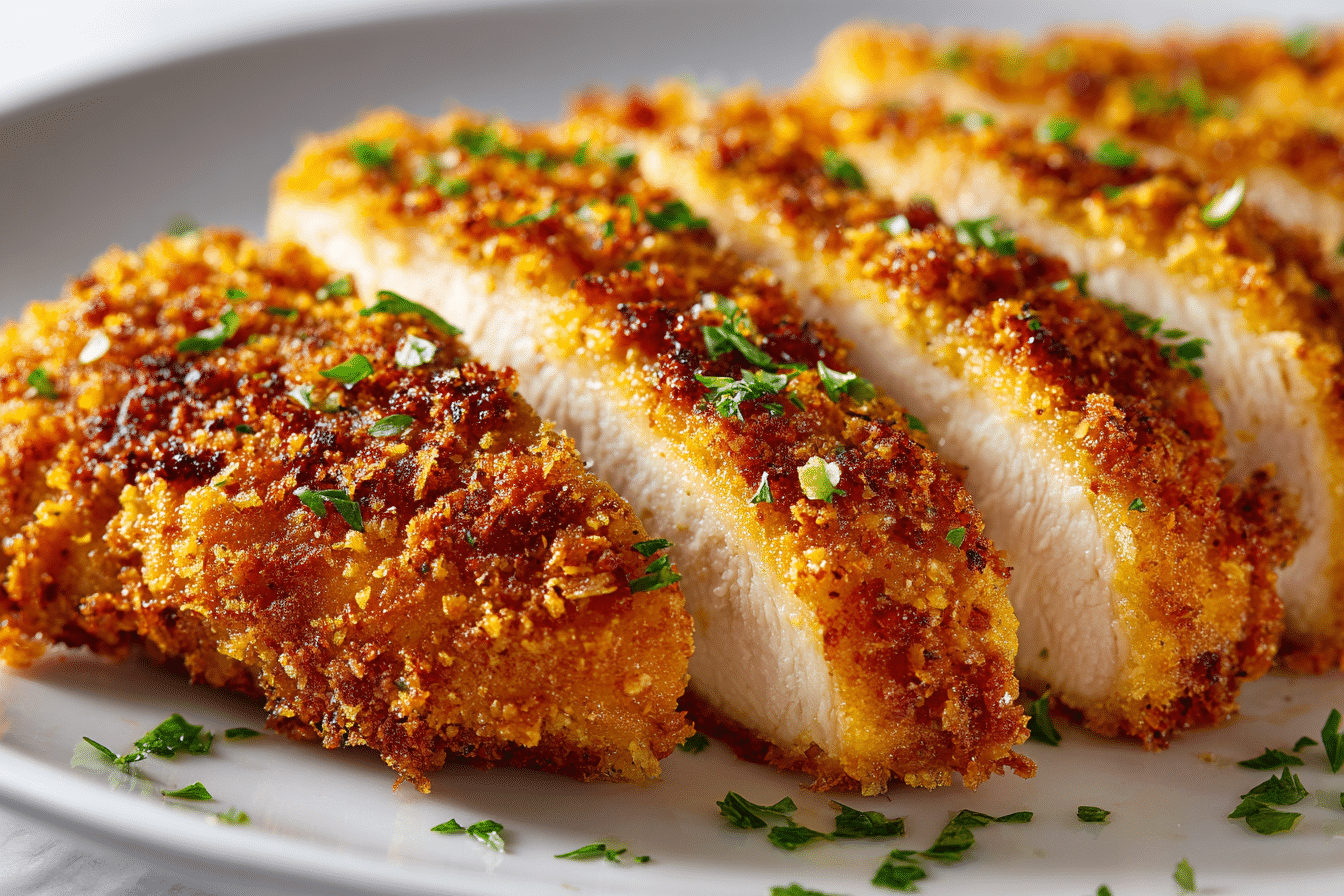
Craving something crunchy, juicy, and satisfying without the mess of frying? This air fryer crispy chicken breast hits the sweet spot. It’s quick, loaded with flavor, and delivers a crunchy crust that rivals deep-fried chicken—minus the grease and time.
This recipe combines everyday ingredients and the power of the air fryer to transform plain chicken breasts into something crave-worthy. Each bite delivers a golden, crispy coating with a moist and tender center. Whether it’s a weeknight dinner, lunch prep, or a quick meal for guests, this chicken dish offers convenience without cutting corners on taste.
Best of all, the whole thing comes together in just about 30 minutes, making it the kind of recipe you’ll keep on regular rotation.
Ingredients: What You’ll Need and Why It Works
Every component in this dish plays a role in building texture, taste, or both. Here’s what you’ll be working with—and easy swaps if you’re out of anything.
Chicken Breasts
Skinless, boneless chicken breasts are lean and cook quickly, which makes them ideal for air frying. Choose medium-sized pieces and, if necessary, cut or pound them to an even thickness to help them cook uniformly.
Buttermilk (optional)
A brief soak in buttermilk enhances tenderness and flavor. Not essential, but if you have the time, it adds a subtle tang and juicy texture. If you don’t have any, mix regular milk with a teaspoon of lemon juice or vinegar.
Egg
Egg acts as a sticky layer that helps the crumbs cling tightly. It also adds richness and encourages browning during cooking.
All-Purpose Flour
Flour is the base coat that ensures the egg has something to latch onto. It helps create a solid foundation for the crunchy exterior.
Panko Breadcrumbs
Lighter and airier than traditional breadcrumbs, Panko gives the chicken its signature crunch. You can use a mix of Panko and standard breadcrumbs for a slightly denser bite.
Parmesan Cheese (optional)
Adding Parmesan introduces a salty, nutty edge and boosts browning in the air fryer. It’s optional but adds a gourmet touch to the crust.
Seasonings
A simple but bold blend of salt, pepper, garlic powder, onion powder, paprika, and cayenne (if you want a bit of heat) brings the flavor to life. You can tweak it to suit your preferences.
Cooking Spray
A quick spritz of oil spray ensures the breading crisps up evenly. Avocado or olive oil sprays are both good choices.
How to Cook Crispy Chicken Breast in the Air Fryer
-
Prepare the Chicken
Trim off any extra fat and even out thickness by slicing large breasts in half or gently pounding them. Aim for about ¾-inch thickness. -
Soak in Buttermilk (Optional)
If you’re using buttermilk, place the chicken in a shallow dish and soak for 30 minutes to a few hours. Pat dry before breading. -
Set Up Your Dredging Station
You’ll need three bowls:
-
One for flour mixed with spices
-
One with a beaten egg
-
One for breadcrumbs (mixed with Parmesan, if using)
-
Bread the Chicken
Coat each piece in seasoned flour, then dip in egg, and finally press into the breadcrumbs until fully covered. -
Preheat the Air Fryer
Let the air fryer run at 375°F for a few minutes before cooking. This ensures a hot start and better texture. -
Cook
Arrange the chicken in a single layer in the air fryer basket. Give the tops a light spray of oil. Cook for 10 minutes, flip, spray the other side, and cook for another 8–10 minutes. The crust should be golden, and the internal temperature should reach 165°F. -
Let Rest Before Serving
Allow the chicken to rest for 5 minutes. This locks in the juices and helps the crust stay crisp.
Tips to Avoid Common Mistakes
-
Don’t overcrowd the basket; airflow is key for a crispy finish.
-
Don’t skip the oil spray—it’s what gives the breadcrumbs that golden crunch.
-
Be sure to even out the thickness to avoid uneven cooking.
Smart Tips, Easy Substitutions & Flavor Ideas
Helpful Tips
-
Let the coated chicken sit for a few minutes before air frying—this helps the breading stay on better.
-
Always use a meat thermometer to avoid overcooking.
-
Flip the chicken during cooking and spray both sides to ensure an even finish.
Flavor Variations
-
Spicy Kick: Add chili powder or hot sauce to the egg mixture.
-
Italian Twist: Use Italian seasoning in the breadcrumb mixture.
-
Herb Crust: Add dried thyme, oregano, or rosemary for extra depth.
-
Low-Carb Option: Replace flour with almond flour and breadcrumbs with crushed pork rinds.
Ingredient Swaps
-
Use boneless, skinless chicken thighs if you prefer dark meat.
-
For dairy-free, skip the cheese and swap buttermilk with almond milk and lemon juice.
-
Use gluten-free flour and breadcrumbs for a celiac-friendly version.
How to Serve Your Crispy Chicken
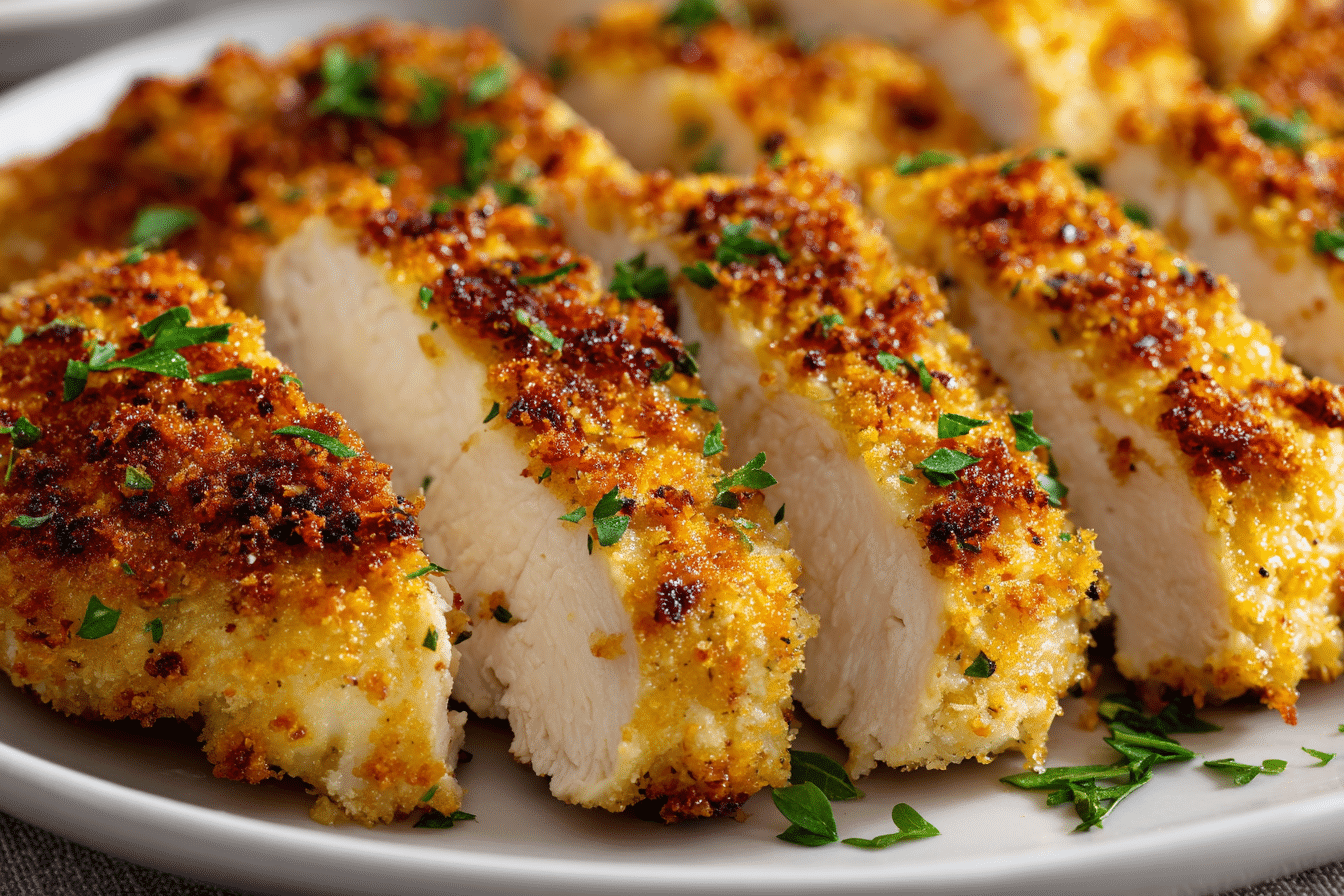
This chicken is incredibly versatile. Serve it hot with roasted vegetables, mashed potatoes, or your favorite side dish. Slice it over a Caesar salad for a hearty lunch, or tuck it into a toasted bun with pickles for a simple chicken sandwich.
It’s a great fit for weeknight dinners, casual gatherings, or meal prepping. The crust holds up well, so you can cook ahead and reheat without losing the crunch.
Nutritional Snapshot
This air fryer method cuts down significantly on oil, making it a lighter alternative to deep-fried chicken. With lean protein from the chicken breast and minimal added fat, it’s a solid base for a healthy, filling meal.
You can easily adapt it to suit various dietary goals—gluten-free, low-carb, or dairy-free—while still enjoying a flavorful, crunchy coating. Pair it with nutrient-rich sides like leafy greens or roasted sweet potatoes for a well-rounded plate.
Frequently Asked Questions
1. Can I air fry chicken straight from the freezer?
It’s best to thaw chicken before breading and air frying. Frozen chicken won’t hold the coating, and the inside may cook unevenly.
2. What’s the best way to reheat crispy chicken?
Use the air fryer! Reheat at 350°F for 4–5 minutes. This brings back the crunch without drying out the meat.
3. Is this recipe good for meal prep?
Yes, absolutely. Cook ahead and store in the fridge for up to three days. Reheat in the air fryer or oven when ready to eat.
4. What if I don’t have Panko?
You can use regular breadcrumbs or try crushed cornflakes or crackers for an extra crunchy twist.
5. My breading won’t stay on—what am I doing wrong?
Make sure the chicken is dry before dredging. Press the coating on firmly, and let the coated chicken rest before cooking. Also, avoid flipping too early.
6. Is this a kid-friendly recipe?
Definitely. Omit the cayenne for a milder version. Kids love the crispy texture, especially with ketchup or honey mustard on the side.
7. Can I substitute thighs for breasts?
Yes. Boneless, skinless thighs work well and tend to be juicier. They may need a few extra minutes to cook depending on size.
Crispy, juicy, and ready in 30 minutes, this air fryer chicken breast is a quick, flavorful meal option perfect for salads, sandwiches, or hearty mains.
- Prep Time: 10 minutes
- Cook Time: 15 minutes
- Total Time: 25 minutes
- Yield: Serves 4
Ingredients
2 boneless skinless chicken breasts
1/2 cup buttermilk (optional)
1 egg
1/2 cup all-purpose flour
1 cup Panko breadcrumbs
1/4 cup grated Parmesan (optional)
1 tsp paprika
1/2 tsp garlic powder
1/2 tsp onion powder
1/4 tsp cayenne pepper (optional)
1/2 tsp salt
1/4 tsp black pepper
Cooking spray or oil mist
Instructions
-
Trim and flatten chicken breasts to even thickness.
-
(Optional) Soak in buttermilk for 30 minutes, then pat dry.
-
Preheat air fryer to 375°F.
-
Set up three bowls: seasoned flour, beaten egg, breadcrumb-Parmesan mix.
-
Coat chicken in flour, then egg, then breadcrumbs.
-
Place in air fryer basket, spray lightly with oil.
-
Cook 10 minutes, flip, spray again, and cook another 8–10 minutes.
-
Let rest for 5 minutes before serving.